How to Choose Pinterest Board Covers that Match Your Brand
Pinterest board covers are more than just placeholders—they’re a chance to establish your brand identity, create a cohesive look, and make your profile visually appealing. By carefully choosing board covers that align with your brand, you’ll attract viewers who appreciate your style and message, setting the right expectations for what they’ll find on your boards.
In this guide, we’ll walk through the key steps to choose Pinterest board covers that align with your brand’s aesthetics and values, helping you build a recognizable and inviting Pinterest profile.
1. Why Board Covers Matter for Your Brand
Your board covers serve as the first visual impression that potential followers will see when they land on your Pinterest profile. A consistent, well-designed set of board covers can:
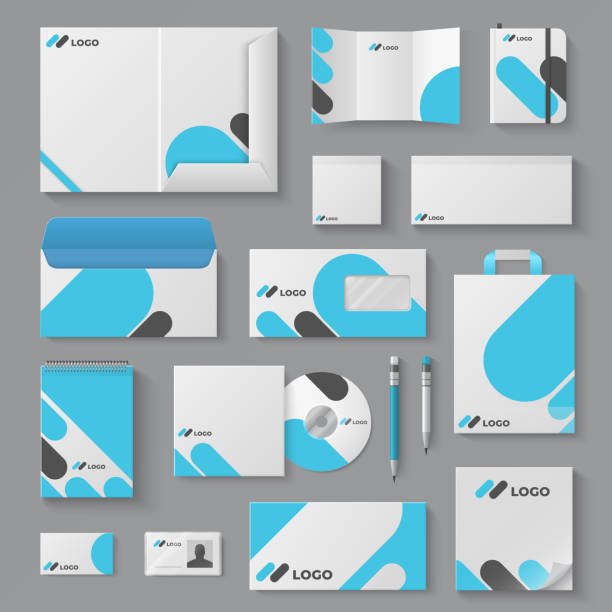
- Reflect Your Brand Identity: Showcase your brand’s personality and values through color schemes, font choices, and imagery that align with your brand.
- Create Cohesion: Establish a unified look across all boards, making your profile feel professional and visually pleasing.
- Guide Viewers: Clear and attractive board covers help viewers navigate your content and quickly find what they’re interested in.
If you’re building a brand on Pinterest, using custom board covers with purpose will set you apart and help you create a memorable experience for your audience.
2. Step-by-Step Guide to Creating Board Covers that Align with Your Brand
Here’s a step-by-step approach to choosing and creating board covers that will make your Pinterest profile stand out:

Step 1: Define Your Brand’s Visual Style
Before creating any visuals, establish a clear understanding of your brand’s style. Think about the colors, fonts, and imagery that represent your brand.
Consider the following:
- Brand Colors: Use your brand’s primary colors as the base for your board covers.
- Font Style: Select fonts that align with your brand’s personality—modern and minimal, playful, or elegant.
- Tone of Images: Are your images light and airy, dark and moody, or vibrant and bold? Choose images that align with your overall vibe.
Step 2: Plan Your Board Topics
- List the boards you want to create on Pinterest, such as “Healthy Recipes,” “Travel Tips,” or “Productivity Hacks.”
- Group related boards together if possible to give your profile a structured look.
- Decide if you want each board cover to have a unique look or a similar, cohesive design with slight variations.
Step 3: Design Custom Covers in Canva or Photoshop
Use design tools like Canva, Photoshop, or any preferred graphic software to create your covers.
Set the cover dimensions to 1000 x 1000 pixels to ensure they fit perfectly on Pinterest.
Add Text Overlays: Consider adding text that describes each board clearly. Make sure the font size is readable even when the cover is displayed as a thumbnail.
Keep It Simple: Avoid overcrowding your covers with too many elements. Simple, clean designs are generally more effective and visually appealing.
Step 4: Use High-Quality, On-Brand Images
Choose images that represent the board’s content and align with your brand’s aesthetic.
For example:
For a “DIY Crafts” board, use a bright, colorful image of crafting materials.
For a “Minimalist Living” board, opt for clean, neutral tones with minimal decoration.
Make sure the image quality is high, as blurry or pixelated images can reduce the professional look of your profile.
Step 5: Create a Consistent Layout Across Covers
- Consistency is key when it comes to creating a cohesive brand look.
- Choose one or two layouts (like centered text or text in the lower third) and stick to it across all covers.
- Use the same font, colors, and design elements on each cover to give your profile a unified look.
3. Tips for Choosing Effective Board Cover Elements
- Stick to a Color Palette: Use your brand colors throughout all covers to create a cohesive look that’s easy to recognize.
- Choose Clear, Readable Fonts: Make sure your fonts are legible even when viewed as a small thumbnail on mobile devices.
- Include Your Logo (Optional): If you want to increase brand recognition, consider adding a small logo to the corner of each board cover.
- Avoid Overly Complex Designs: Keep it simple to ensure your covers are visually appealing and not cluttered.
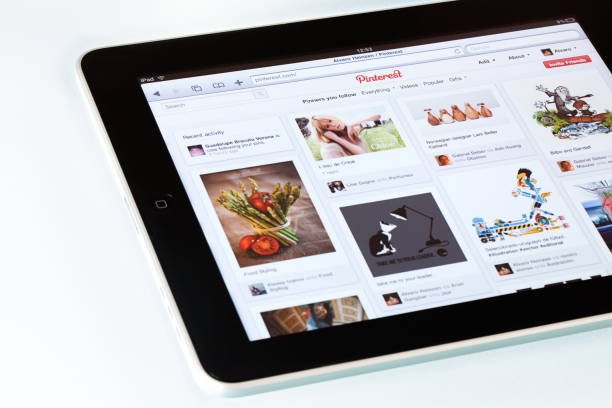
4. Setting Up and Changing Your Pinterest Board Covers
Once you have designed your covers, it’s time to upload them to Pinterest. Here’s how:
Step 1: Add Your Covers as Pins
First, add each board cover to its respective board as a pin. Make sure the pin is saved to the correct board so you can easily find it.
Step 2: Set the Cover Image
Go to the board you’d like to update, click on the pencil/edit icon, and select “Change Cover.”
Choose the uploaded cover pin as the board’s cover image, then click “Save.”
Repeat this for all your boards to complete the transformation.
5. Checklist: Ensuring Brand Cohesion with Your Board Covers
Here’s a quick checklist to ensure your board covers are perfectly aligned with your brand:
- Do all board covers use consistent colors, fonts, and styles?
- Are the images high-quality and on-brand?
- Is the text readable and clear for each board?
- Did I include the right images for each board’s theme?
- Have I uploaded and set the covers correctly on Pinterest?
Conclusion
Pinterest board covers are an essential part of creating a polished, professional look for your profile. By carefully designing covers that reflect your brand’s personality, using cohesive colors and fonts, and adding high-quality images, you’ll create a visually appealing Pinterest presence that attracts and engages your audience.
With a cohesive and beautiful profile, your audience will know exactly what to expect from your boards, encouraging them to follow and engage with your content.
Ready to elevate your Pinterest profile? Start designing your board covers today and watch your brand identity shine through!